Replacing shower door guides ensures smooth operation and proper water containment․ Over time, worn-out guides can lead to leaks and operational issues․ Proper replacement enhances functionality and aesthetics, ensuring a leak-proof and durable shower door system․
1․1 Importance of Proper Shower Door Installation
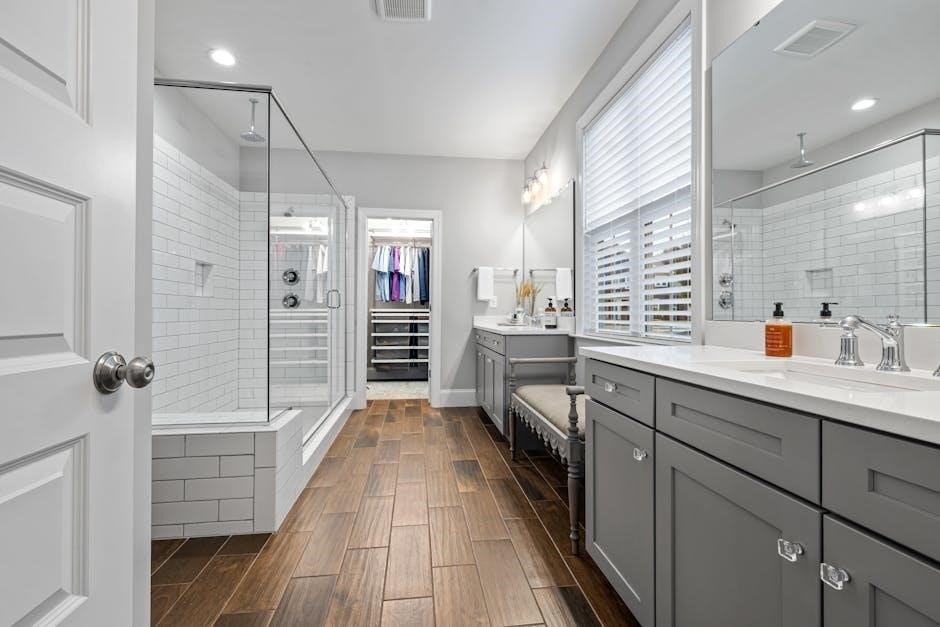
Proper shower door installation is crucial for ensuring water containment, safety, and durability․ Incorrect installation can lead to leaks, mold growth, and door malfunctions․ It also prevents accidents from slipping on wet floors․ A well-installed door enhances bathroom aesthetics and functionality, ensuring smooth operation and longevity of the shower system․ Proper installation saves time and money in the long run․
1․2 Benefits of Replacing Shower Door Guides
Replacing shower door guides improves functionality and prevents water leaks․ New guides ensure smooth door operation, reduce noise, and enhance safety․ They also prevent mold and mildew growth caused by water seepage․ Upgrading guides boosts the door’s durability and maintains a clean, modern appearance, contributing to a more comfortable and hygienic bathroom environment․ Regular replacement is cost-effective and extends the door’s lifespan․

Types of Shower Doors
Shower doors come in three main types: hinged, pivot, and sliding․ Each offers unique benefits, with hinged doors providing a wide opening, pivot doors suiting larger spaces, and sliding doors saving space for smaller bathrooms․
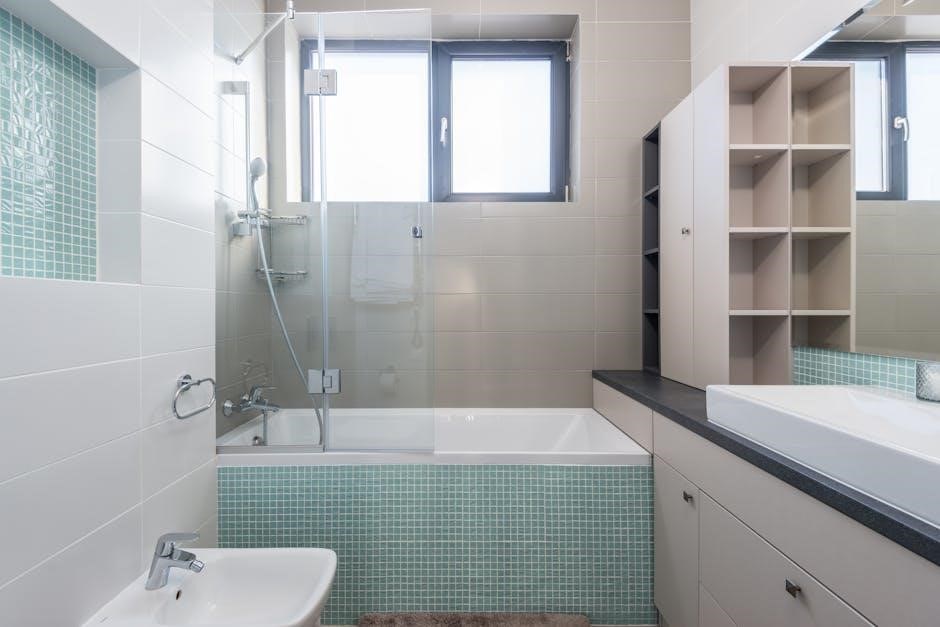
2․1 Hinged Shower Doors
Hinged shower doors are a popular choice, offering a wide opening for easy access․ They can be framed or frameless, providing a modern aesthetic; These doors are easier to clean and maintain compared to sliding options, making them ideal for users seeking convenience․ However, they may not be suitable for small bathrooms due to their space requirements․
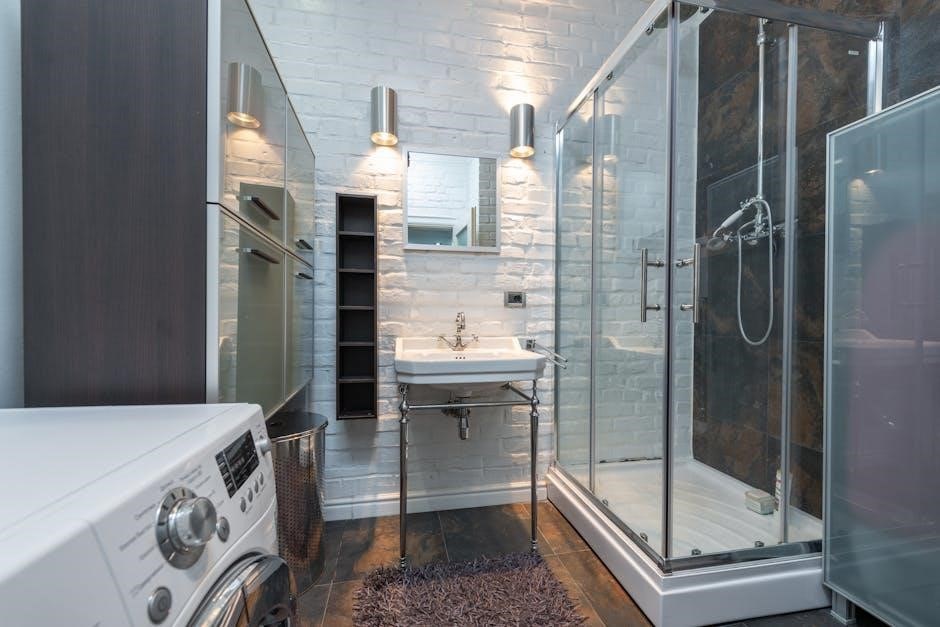
2․2 Pivot Shower Doors
Pivot shower doors are anchored on one side and swing 180 degrees, creating spacious shower areas․ They don’t require floor space, making them ideal for larger bathrooms․ Often starting at 1000mm wide, these doors can be paired with side panels for corner installations․ However, their rollers may need replacement over time to maintain smooth operation and prevent issues․
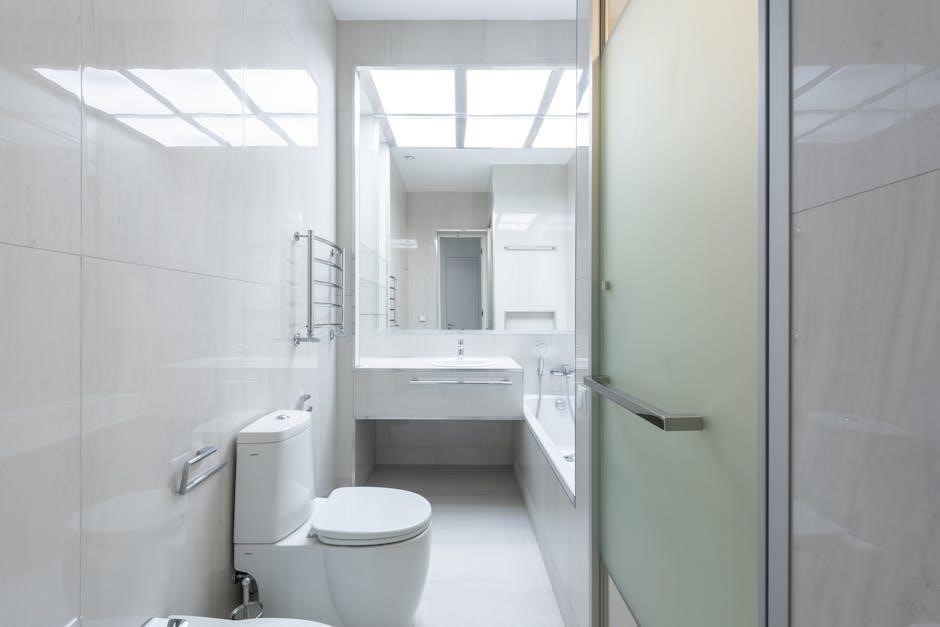
2․3 Sliding Shower Doors
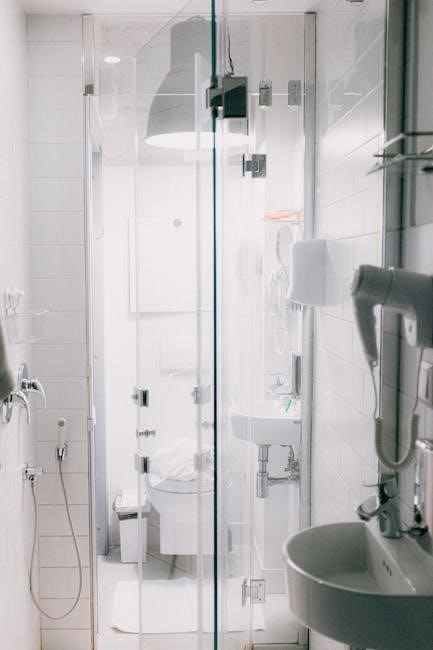
Sliding shower doors are ideal for small bathrooms, as they don’t require swing space․ They operate on rollers and guides, making them space-efficient․ However, incorrect measurements or misaligned tracks can lead to operational issues like sticking or noise․ Regular lubrication of rollers and proper sealing are essential for smooth functionality and to prevent water leaks, ensuring a durable and hassle-free shower door system․
Measuring and Preparing the Area
Measure the shower entrance width and height using a tape measure․ Ensure walls are straight with a level․ Clean and clear the area of debris before starting replacement․
3․1 How to Measure the Shower Entrance
Measure the width and height of the shower entrance accurately․ Use a tape measure to record the dimensions, ensuring measurements are within 1/16 of an inch for a precise fit․ Check if the walls are straight using a level․ This ensures proper alignment and prevents installation issues later․ Clean the area before starting the replacement process․
3․2 Tools and Materials Needed
To replace shower door guides, you’ll need a tape measure, level, drill with a 3mm bit, wrench or ratchet, screwdrivers, and safety gear like gloves and goggles․ Materials include new guide rails, rollers, bolts, door seals, and lubricant for smooth operation․ Ensure all tools and parts are readily available before starting the replacement process for efficiency․
Removing the Old Shower Door
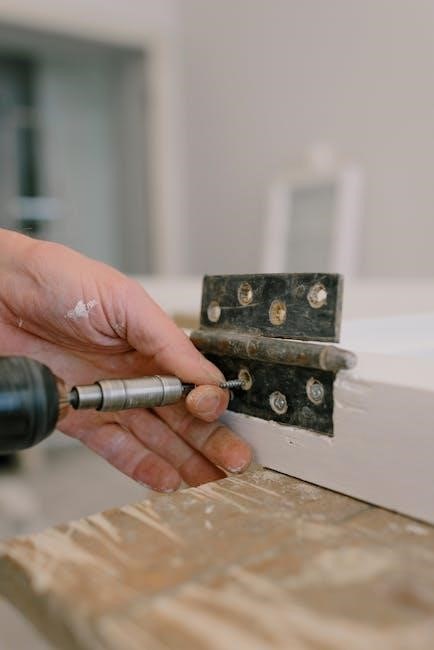
Start by removing the screws securing the old door’s hinges and rollers․ Carefully lift the door off the support bar, ensuring safety and avoiding damage to surrounding areas․
4․1 Steps to Remove the Old Door
To remove the old shower door, begin by taking out the screws securing the hinges and rollers․ Gently lift the door off the support bar, taking care not to damage the surrounding area․ Once removed, set the door aside and carefully detach any remaining hardware․ This step ensures a clean slate for installing the new door and guides․
4․2 Handling the Old Door and Hardware
After removing the old door, handle it with care to avoid injury or damage․ Store the door and hardware in a safe place or recycle them responsibly․ Inspect the removed parts for any reusable components, such as screws or hinges, and set them aside for potential use during the new installation process later․
Installing the New Shower Door
Install the top rollers on the door panel, then hang it on the support bar․ Ensure proper alignment and secure the door with bolts, tightening firmly for stability․
5․1 Mounting the Top and Bottom Guides
Mount the top and bottom guides securely on the shower frame using a drill with a 3mm bit․ Ensure the door’s rollers align perfectly with the guides for smooth operation․ Proper alignment prevents water leaks and ensures the door functions seamlessly․ Tighten all bolts firmly to maintain stability and durability over time․
5․2 Hanging the Door Panel
Attach the top rollers to the door panel and carefully hang it on the support bar․ Ensure the bottom edge aligns with the bottom guide for proper fit․ Secure the panel using a drill with a 3mm bit, tightening all bolts to maintain stability․ Double-check alignment to ensure smooth operation and a watertight seal, preventing leaks and ensuring long-term functionality․
5․3 Securing the Door with Rollers and Bolts
Tighten the top and bottom rollers securely to the door frame using the provided bolts․ Ensure all connections are snug to prevent shifting․ Align the rollers with the support bar and guide rails for smooth movement․ Double-check all bolts for proper torque to maintain stability and ensure the door operates effortlessly without wobbling or misalignment over time․
Maintenance and Care
Regular cleaning and lubrication of rollers ensure smooth operation․ Inspect for wear and tear, and address water leaks promptly to maintain functionality and longevity․
6․1 Cleaning the Shower Door and Guides
Regular cleaning prevents soap scum and water spots․ Use a mild detergent and a squeegee to remove residue․ Clean guide rails and rollers with a soft brush or cloth to ensure smooth door operation․ Dry the door thoroughly after cleaning to prevent water spots and maintain clarity․ This maintenance ensures optimal functionality and longevity of your shower door system․
6․2 Lubricating the Rollers for Smooth Operation
Lubricating rollers ensures smooth door movement and prevents noise․ Use a silicone-based spray on moving parts and wipe off excess with a cloth․ This reduces friction and extends hardware lifespan․ Regular lubrication maintains optimal functionality and prevents wear-and-tear, keeping your shower door operating effortlessly for years to come․
Common Mistakes to Avoid

Incorrect measurements, misaligned guides, and ignoring weight capacity are common errors․ Ensure proper alignment and use the right tools to avoid installation issues and future complications․
7․1 Incorrect Measurements
Incorrect measurements are a common mistake, leading to ill-fitting doors and poor functionality․ Measure the width and height accurately, ensuring alignment with the shower frame․ Double-check all dimensions before ordering or installing․ Using a level and tape measure correctly helps avoid errors․ Even a slight miscalculation can cause water leakage or operational issues, so precision is key․ Always measure twice for accuracy․
7․2 Improper Alignment of Guides
Improper alignment of guides can lead to water leaks and operational issues․ Misaligned guides cause doors to stick or make noise, reducing hardware durability and potentially causing the door to fall․ Always use a level and double-check alignment during installation․ Properly aligned guides ensure smooth operation, prevent long-term damage, and enhance the shower door’s functionality and lifespan, ensuring safety and efficiency․
Cost Considerations
Replacing shower door guides requires budgeting for durable parts and labor․ Proper measurements and alignment prevent costly future repairs, ensuring long-term savings and functionality․
8․1 Budgeting for Replacement Parts
Budgeting for shower door guide replacement involves considering the cost of durable rails, rollers, and seals․ Prices vary based on material quality and brand․ Allocating funds for these parts ensures a smooth, leak-free operation, preventing future repairs and enhancing the door’s longevity and performance․ Plan accordingly to avoid unexpected expenses․
8․2 Labor Costs for Professional Installation
Labor costs for professional shower door installation vary depending on location and expertise․ Hiring a professional ensures proper alignment, secure fitting, and leak prevention․ While DIY can save money, professionals guarantee a flawless installation, making it a worthwhile investment for long-term functionality and safety․
Safety Tips
Ensure proper door alignment to prevent injuries and water leaks․ Use non-slip mats and secure handles to enhance bathroom safety, especially for children and the elderly․
9․1 Preventing Water Leaks
To prevent water leaks, ensure proper alignment of the shower door and guides․ Install a high-quality door seal strip and regularly inspect for wear․ Use a silicone-based sealant around the edges for added protection․ Regularly clean and maintain the door and frame to avoid mineral buildup that could compromise the seal․ This ensures a water-tight barrier, safeguarding your bathroom floors from moisture damage;
9․2 Ensuring Proper Door Alignment
Proper door alignment is crucial for smooth operation and preventing water leaks․ Use a level to ensure the door and guides are perfectly aligned․ Secure the door panel firmly within the guides, adjusting as needed for even spacing․ Regularly check the alignment to prevent wear and tear on the rollers and hinges, ensuring long-lasting functionality and a secure seal․
Choosing the Right Hardware
Selecting durable and water-resistant hardware is essential for long-lasting shower door performance․ Opt for high-quality materials like stainless steel or brass to ensure corrosion resistance and smooth operation․
10․1 Selecting Durable Guide Rails
Durable guide rails are crucial for smooth shower door operation․ High-quality materials like stainless steel or aluminum resist corrosion and wear․ Ensure the rails are compatible with your door type and size․ Proper alignment and secure installation prevent noisy operation and extend the door’s lifespan․ Choose rails with a reputation for longevity and reliability for optimal performance․
10․2 Picking the Right Door Handles
Selecting the right door handles enhances both functionality and aesthetics; Choose handles made from durable materials like brass or stainless steel for long-lasting use․ Ensure they are compatible with your shower door’s thickness and style․ Consider handles with a modern or traditional design to match your bathroom decor․ Proper installation ensures secure grip and smooth operation, improving overall user experience and safety․
Troubleshooting Common Issues
Common issues include sticking doors, noisy operation, or water leaks․ Regular maintenance, adjusting rollers, and replacing worn parts can resolve these problems effectively․
11․1 Fixing a Sticky or Noisy Door
A sticky or noisy shower door often results from worn rollers or misaligned guides․ Use a 3mm drill bit to secure the panel properly․ Apply silicone spray to rollers for smooth operation․ Check for obstructions in the bottom guide and ensure the door is evenly aligned․ Regular maintenance prevents such issues and ensures quiet, effortless door movement․
11․2 Addressing Water Leakage Problems
Water leakage often stems from improper guide alignment or worn seals․ Ensure the door is securely fitted and aligned using a level․ Clean the guide rails and bottom track of debris․ Replace worn rollers and reapply silicone-based lubricant to prevent further issues․ Regularly inspect and tighten bolts to maintain a watertight seal and prevent costly water damage․
Replacing shower door guides ensures optimal performance and aesthetics․ Proper installation and maintenance are key to preventing leaks and extending longevity․ Regular inspections and timely adjustments guarantee a watertight seal and smooth operation for years to come․
12․1 Final Tips for a Successful Replacement
To ensure a successful replacement, carefully follow installation steps, double-check measurements, and use high-quality materials․ Regular maintenance like cleaning and lubricating rollers prevents wear․ Addressing issues promptly avoids costly repairs․ Consider professional help if unsure, and always follow manufacturer guidelines for optimal results and longevity of your shower door system․
12․2 Long-Term Maintenance for Optimal Performance
Regular cleaning prevents soap scum buildup and water spots․ Lubricate rollers periodically to ensure smooth door operation․ Inspect guides and hinges for wear and tighten any loose parts․ Address minor issues promptly to avoid major repairs․ Proper maintenance extends the lifespan of your shower door, ensuring it remains functional, leak-free, and visually appealing over time․